


How to Install a Central Vacuum System: A Comprehensive Room-by-Room Guide
How Best to Install a Central Vacuum System?
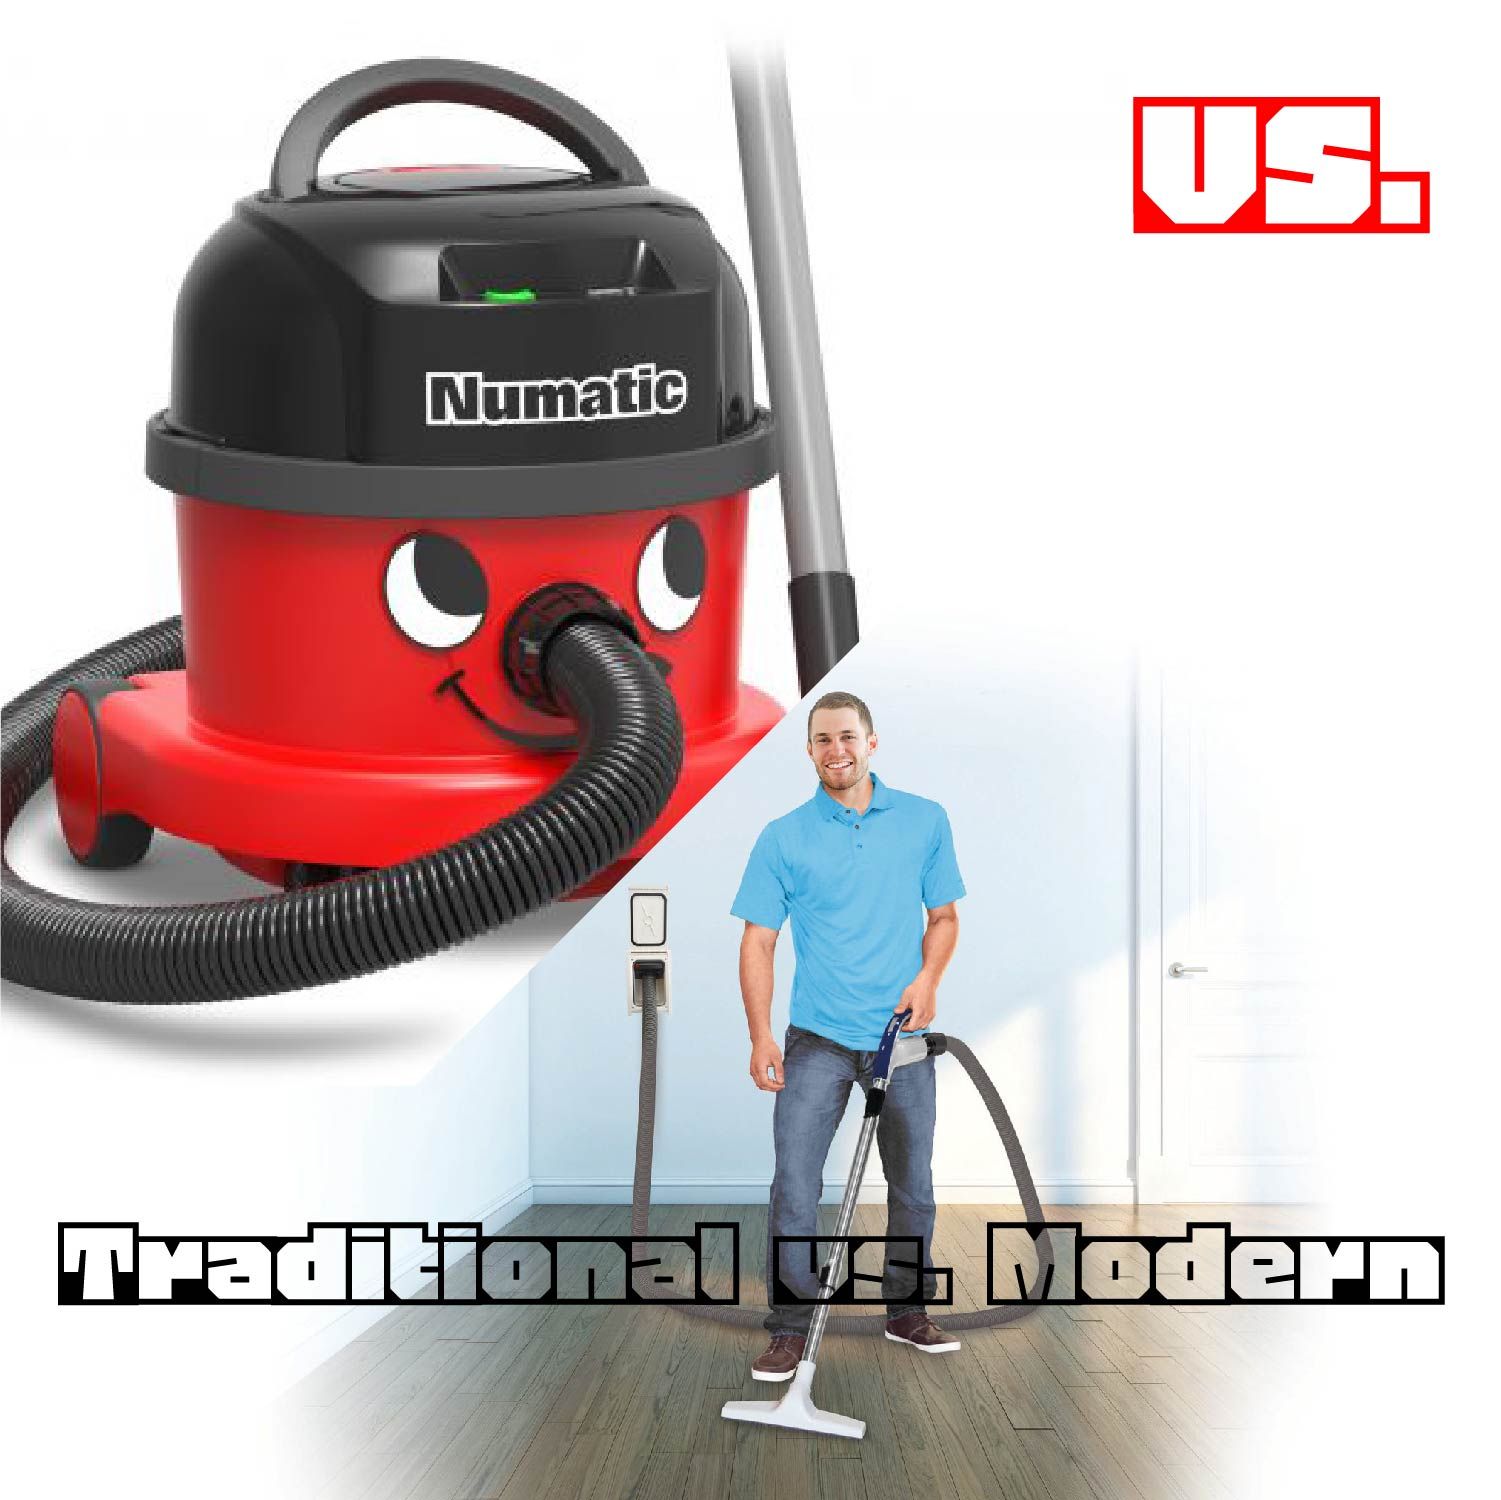
Installing a central vacuum system is a worthwhile upgrade for your home that not only makes cleaning easier but also improves indoor air quality by capturing dust and allergens more effectively. While professional installation is an option, this guide will walk you through a step-by-step DIY approach, taking into account different home layouts and tips to optimize efficiency. By the end, you’ll have a central vacuum system that’s both powerful and convenient, tailored to your space.
Step 1: Design Your Layout for Optimal Coverage
Careful planning of the vacuum layout can maximize coverage without extra-long hoses. Start by determining where to place the inlets. The ideal placement of inlet points are in hallways, at the top and bottom of stairs. A simple method involves using a 30-foot string central to the house as a hose stand-in to confirm reach from each inlet. Strategically positioning these points, as advised in The Nifty House’s installation guide, can reduce excess hoses and avoid inconvenient spots behind doors or near heavy foot traffic.
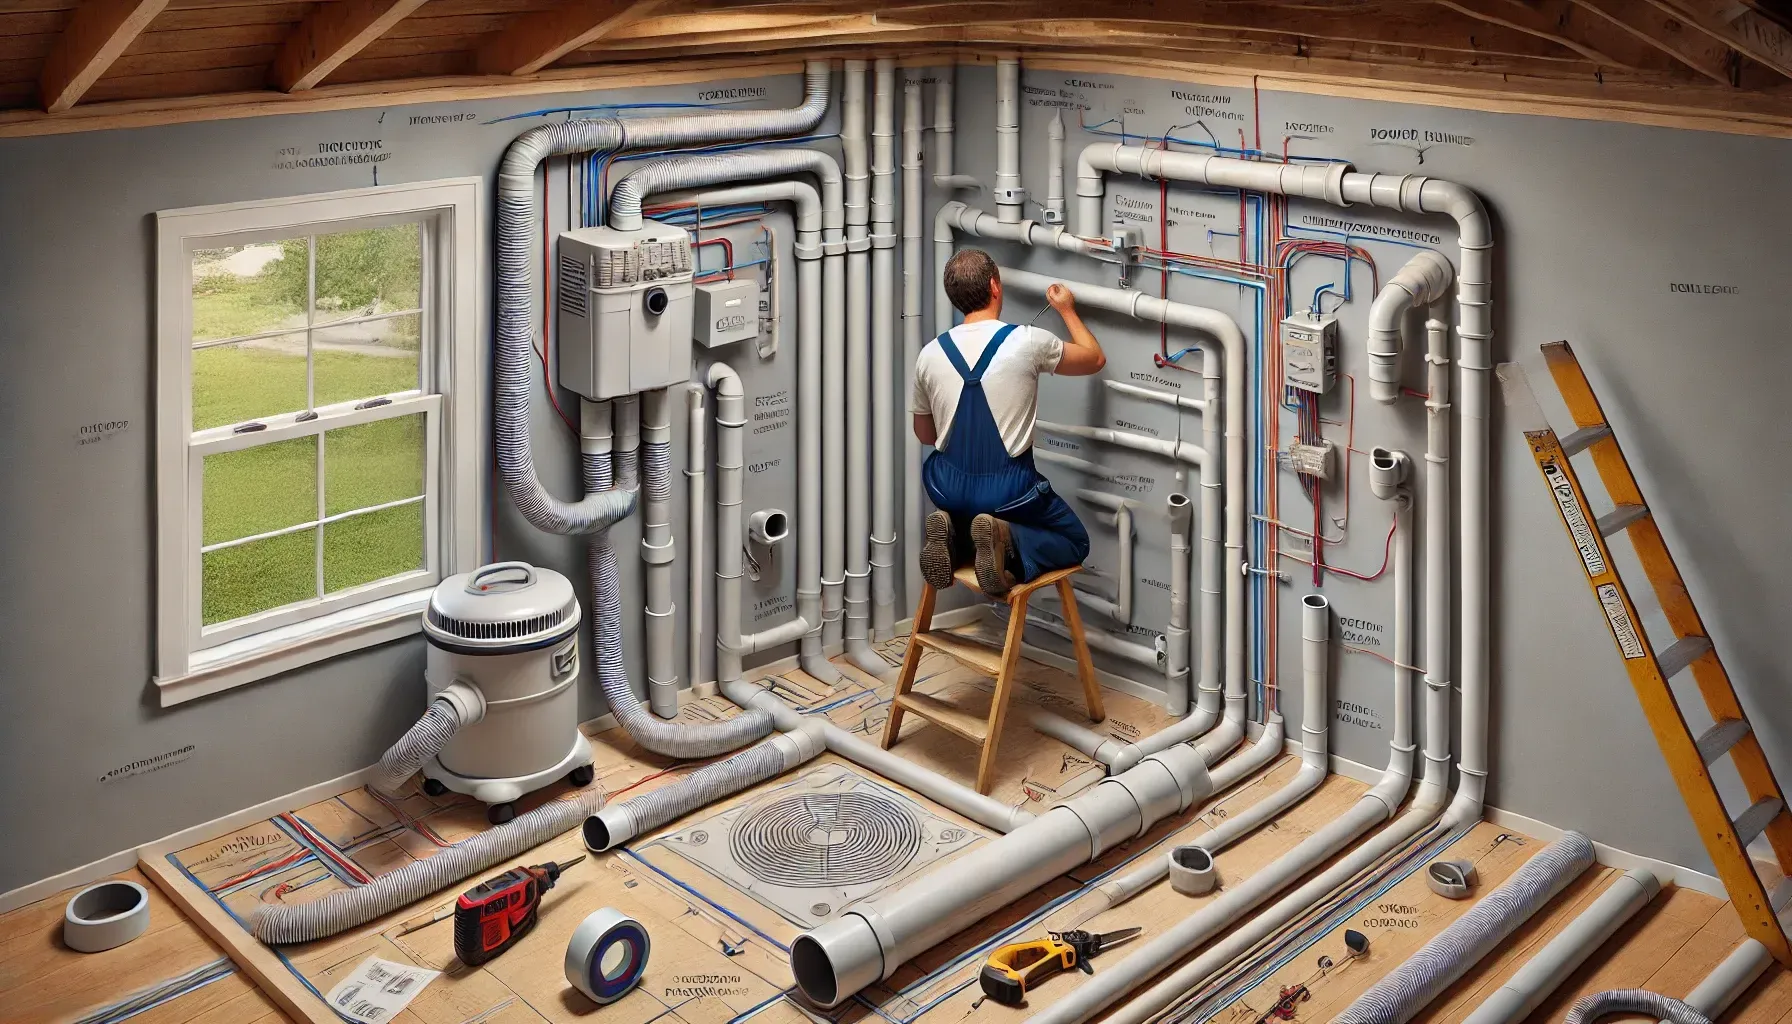
Step 2: Choose the Right Installation Route for Tubing
The tubing is the main pathway for dust and debris in your vacuum system. Routes depend on your home layout:
- Single-Story Homes: In homes with basements, routing tubing under the floor is often ideal, allowing it to connect easily to each room. See HomeTips for more on single-story tubing routes.
- Multi-Story Homes: For two-story houses, routes through closets or attics work well, allowing tubing to drop down into rooms. This avoids long, indirect paths, which can impact suction. BuiltInVacuum has an in-depth guide on multi-story tubing setups.
Step 3: Install the Power Unit in an Ideal Location
The power unit should be in a space where noise and ventilation won’t impact daily activities. This is often the garage, basement, loft or utility:
- Placing the unit in these places reduces noise in living areas. Just ensure ventilation and avoid spaces that may overheat, as discussed in House and Home Online.
- Cyclonic Systems and Venting: Cyclonic units need outdoor venting to keep dust out of living areas. Pro Tool Reviews outlines the benefits of these setups for homes prioritizing air quality.
- The unit will only require emptying once or twice a year (depending on size of family and pets etc) but you should take into consideration of accessing the unit.
Step 4: Wall Preparation and Inlet Installation for retrofits
Prepare walls carefully before placing each inlet. Use a stud finder to mark appropriate spots, and follow these steps:
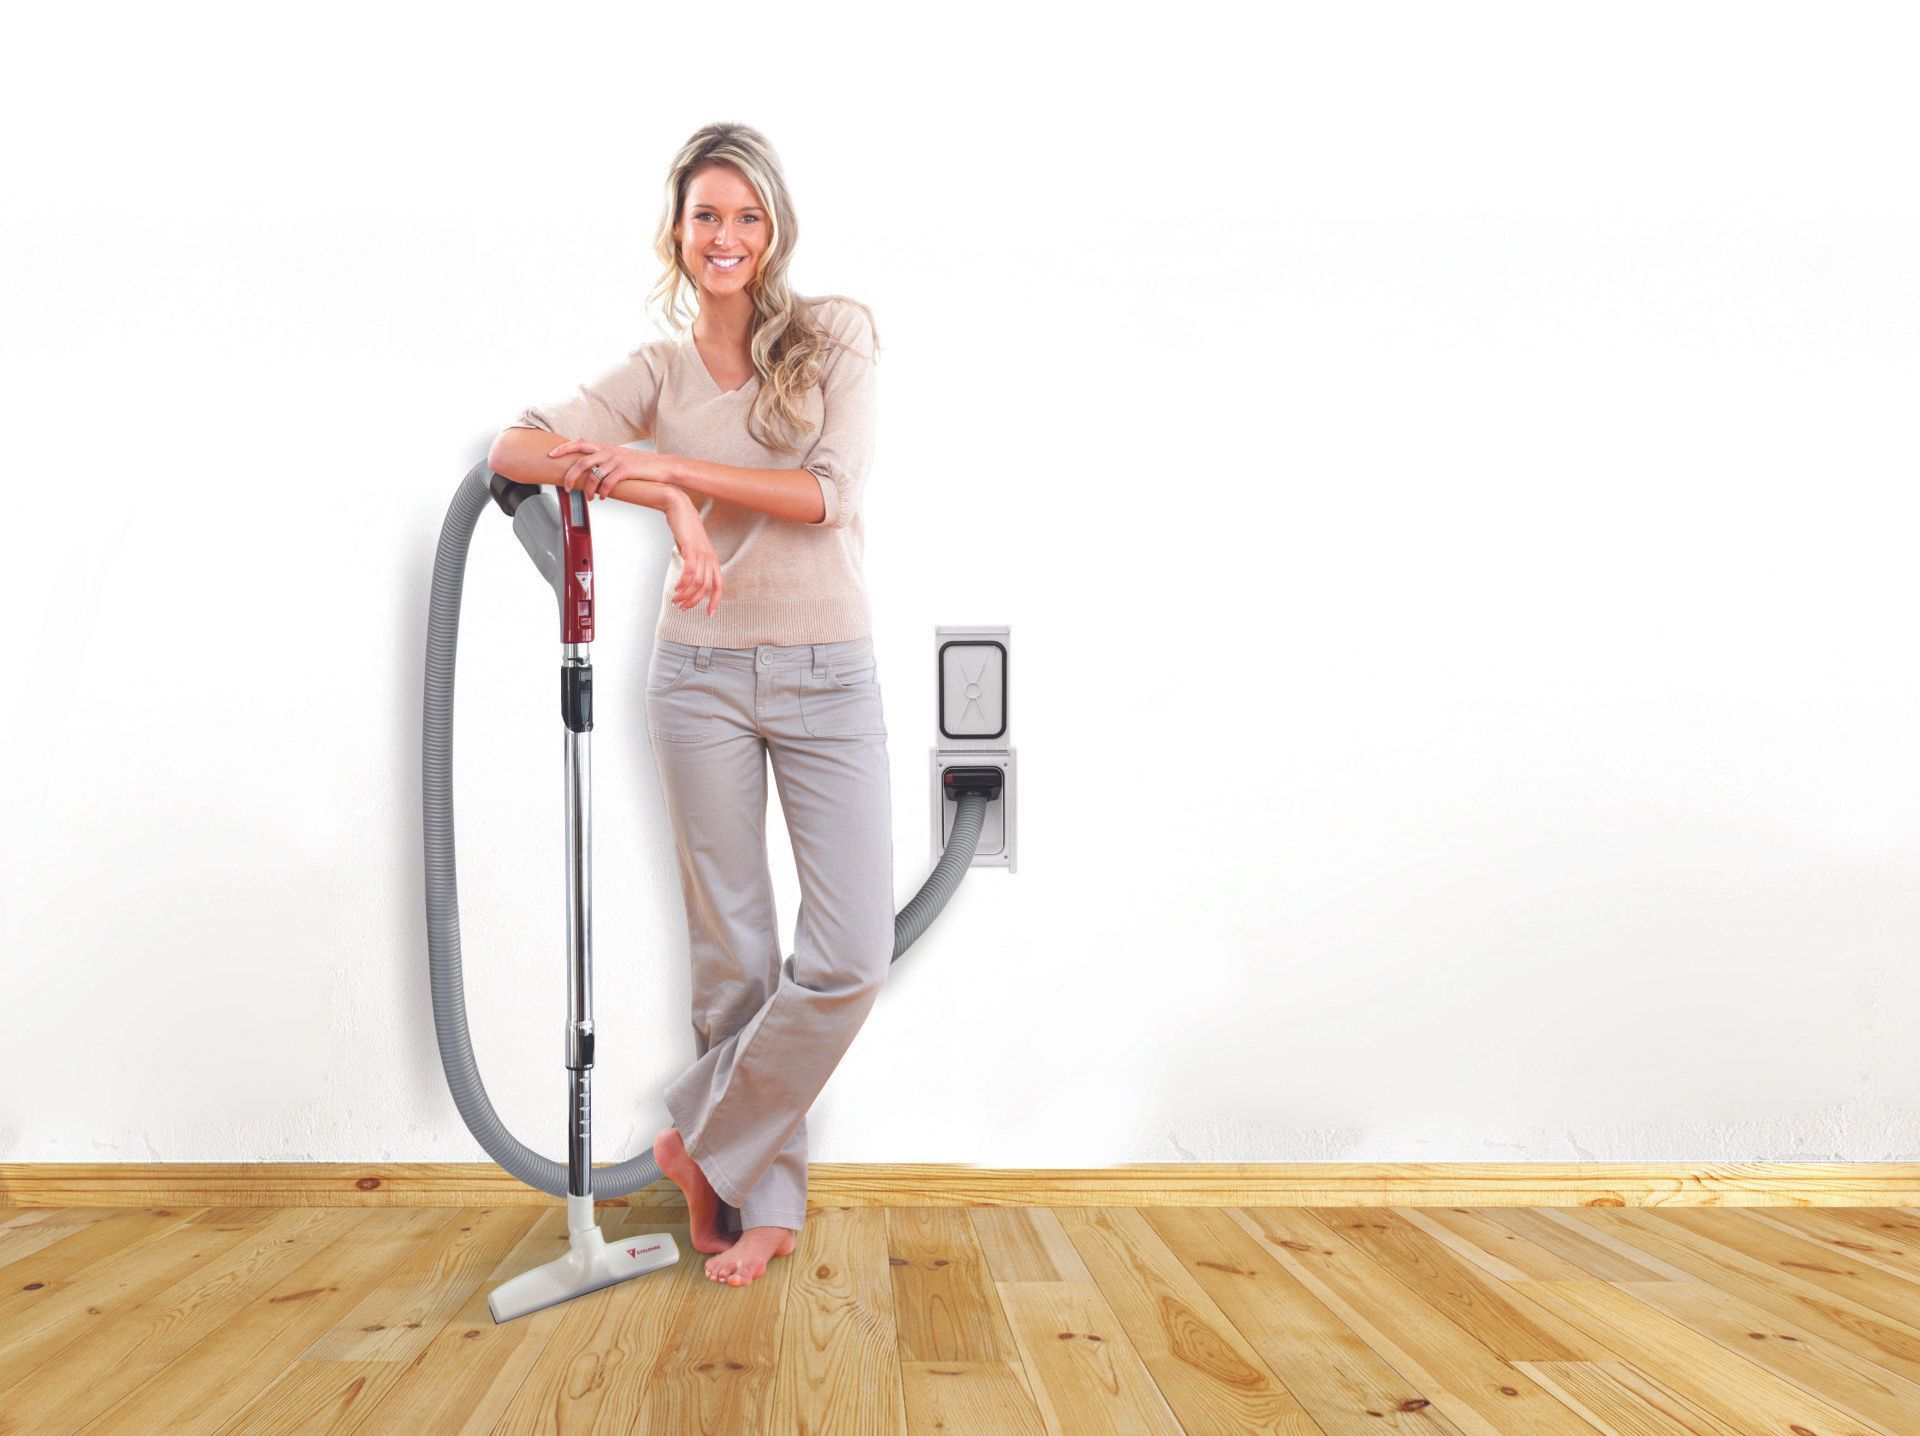
- Marking Locations: Drill in non-load-bearing walls, keeping inlets at a convenient height similar to electrical outlets. The Nifty House has helpful tips on marking and cutting walls for inlets.
- Drilling and Wiring Inlets: Make sure the low-voltage wiring is properly connected, as it activates the vacuum system from each inlet. Pro Tool Reviews provides additional wiring guidance.
Step 5: Wall Preparation and Inlet Installation for new builds or renovations
- Drill a pilot hole if going down or up to another room to confirm there are no obstructions.
- Drill 56mm hole down through sole plates or up through ceiling plates.
- Install nail plates on timer where the pipe passes through on each side.
- Avoid going sideways through a stud partition to avert screws penetrating from other trades after boarding.
Step 6: Connecting the Low-Voltage Wiring
Low-voltage wiring is essential for powering on the vacuum system at each inlet:
- Follow the Tubing: Run the wire alongside the tubing, securing it with electrical tape or cable ties.
- Best practice is to run the cable from one inlet to the next.
- If the above is not possible House and Home Online explains splicing techniques that ensure reliable connections at each inlet.
Step 6: Assembly of the PVC Tubing
To ensure strong, airtight tubing connections:
- Cut and Sand Each Piece: Using a PVC cutter, measure and smooth each section. Rough edges can lead to catch points then eventually a blockage, so be thorough. HomeTips explains proper cutting and cementing techniques for PVC.
- Use PVC Cement Sparingly: Apply a small band of cement around pipe ends before joining them. Twist the fitting slightly for a firm seal. House and Home Online also details common PVC assembly practices for leak prevention.
- NEVER glue the coupling ALWAYS glue the pipe. If you glue the pipe, it pushes it outside the pipe, if you glue the coupling it pushes inside which can eventually lead to blockages.
Step 7: Perform Final Checks and Tests
Final testing is crucial for ensuring your system is leak-free:
- Check All Connections: Insert the hose in each inlet and verify that the system activates as expected. Listen for air leaks, as these reduce efficiency. For more on leak testing, see House and Home Online’s guide.
Conclusion
Installing a central vacuum system yourself can be a satisfying project that adds convenience and value to your home. With strategic planning, thorough testing, and attention to airflow and wiring, you can enjoy a high-efficiency cleaning solution tailored to your needs.
Strathvac supply's an engineers mobile number with every system. If you require guidance during installation we are there to help.

John Graham
Managing Director, Strathvac Ltd
With a deep-rooted passion for innovation and customer satisfaction, John Graham has successfully led Strathvac Ltd to become one of the UK's leading Central Vacuum System providers. Known for his commitment to quality and excellence, John consistently receives five-star reviews on platforms like FreeIndex and Google Reviews, solidifying Strathvac Ltd as a trusted name in the industry.
Whether working on domestic, commercial, or industrial projects, John's focus remains on delivering outstanding results and building lasting client relationships.